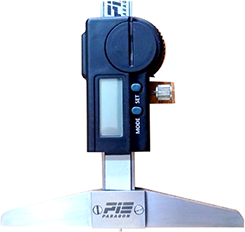
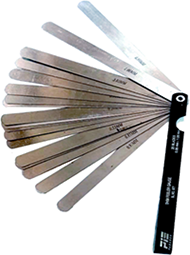
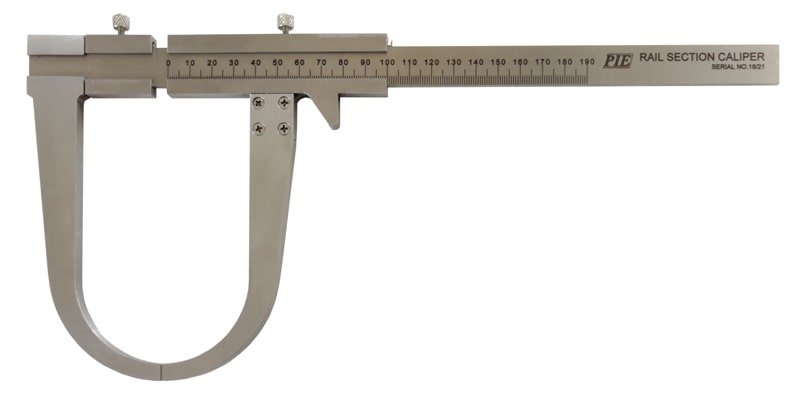
‘PIE’ brand Digital Corrosion Measuring Gauge Model PCMG-2 is used for measuring the depth of cavity developed due to corrosion of rails. The reading is displayed directly on LCD display and is provided with hardened steel pointer.
SPECIFICATIONS: –
- Measuring Accuracy: ± 0.01 MM.
- Measuring Depth of small groove and hole.
- Resolution: 0.01mm/0.0005”
- Measuring reference base: 65 MM X 7 MM
- Buttons: On/Off, set, mm/inch, present (+, -)
- Automatic power off, move the digital unit to turn on power.
- Battery: CR2032
- Data Output (Optional)
NOTE: –THE GAUGE WILL BE SUPPLIED WITH ‘PIE’ CALIBRATION CERTIFICATE TRACEABLE TO NATIONAL STANDARD/NPL STANDARD NOT OF ANY OTHER AGENCY. OUR MASTERS ARE CALIBRATED BY NABL APPROVED LABS.


